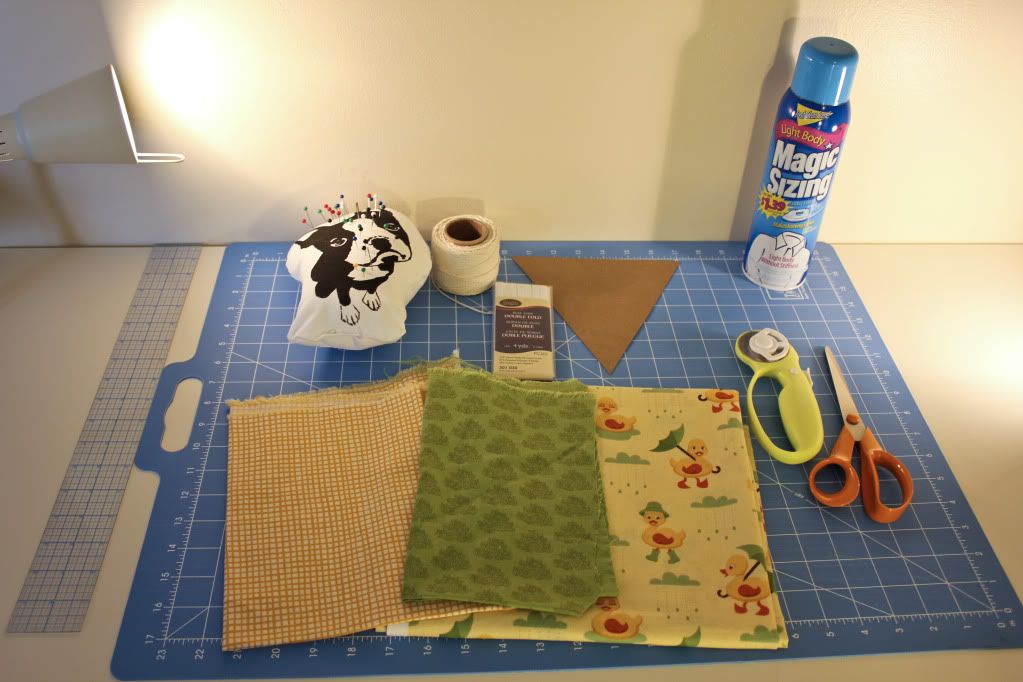
 Supplies needed:
cutting mat
rotary cutter (or scissors)
fabric of your choice
cotton twine (roping, string or yarn of your choice)
light starch (optional)
cardboard to cut triangle pattern (cereal boxes are perfect!)
push pins
thread
pencil
iron + ironing board
sewing machine
zipper foot for machine
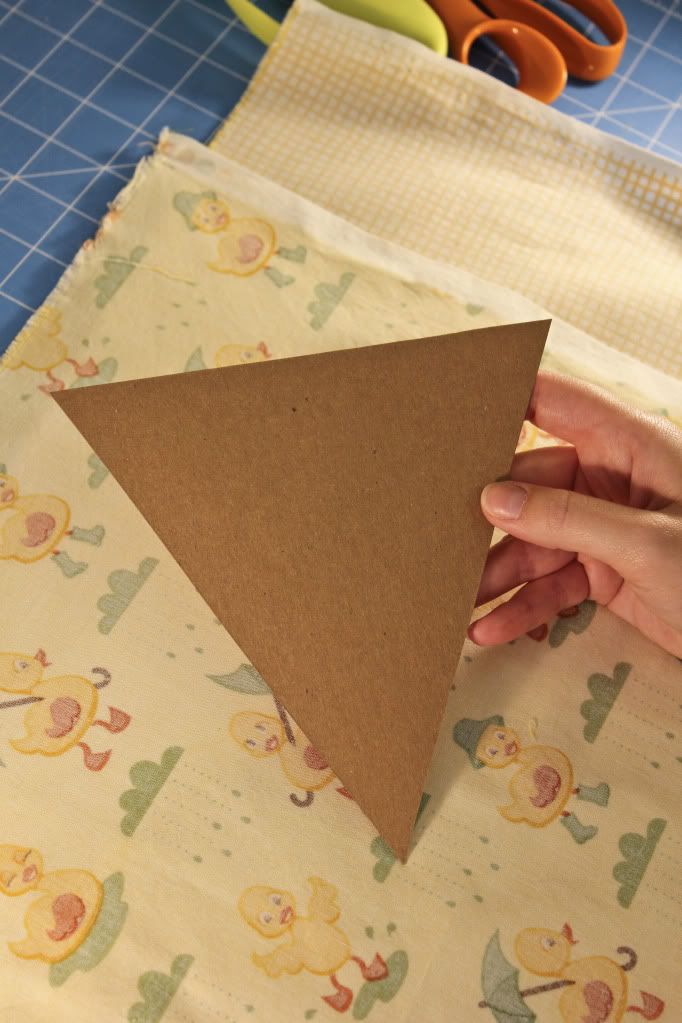
Step 1) Create a triangle pattern out of cardboard (cereal boxes work great). My triangle is 7 in tall by 6 1/2 wide. You can make yours whatever size you want.
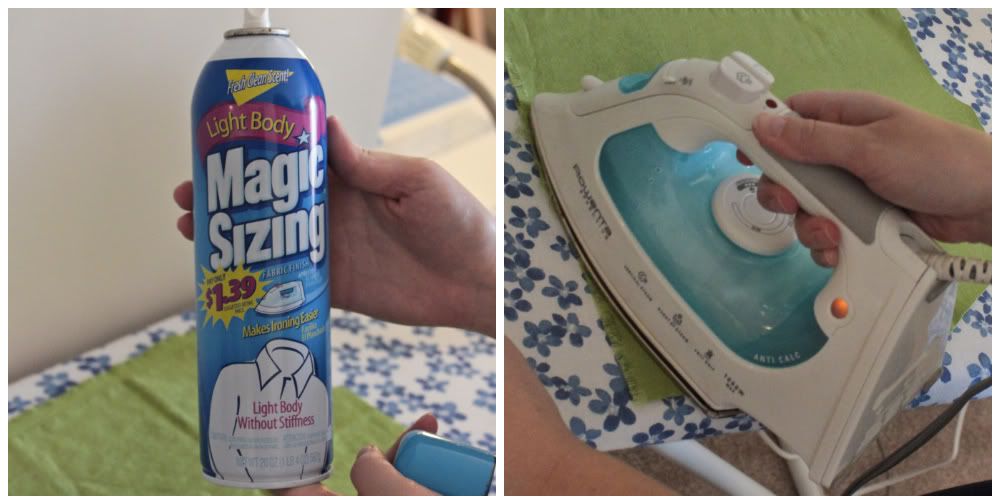
Step 2) Choose the type of fabric you want to use. You can do all the flags in the same fabric or choose a few prints and colors that you like together. Head to your ironing board and lightly spray the fabric with starch then iron out all wrinkles. Starch is not needed, but makes the fabric easier to work with.
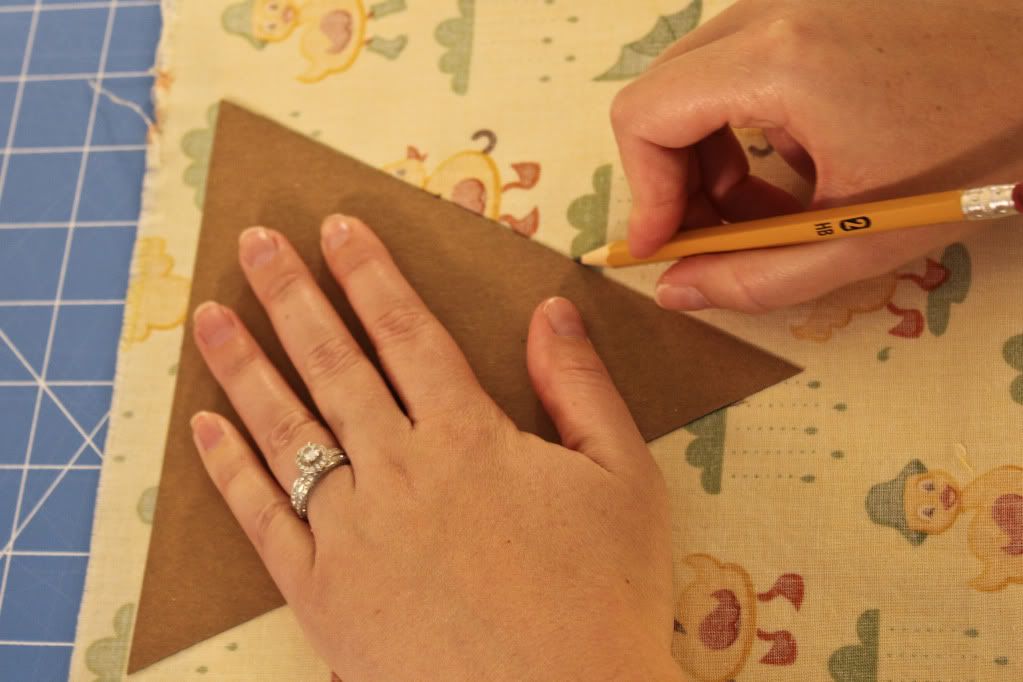
Step 3) Once fabric is pressed, you are ready to trace your triangle pattern on to the back side of the fabric using a pencil or a disappearing fabric marker. *Keep in mind the print on the fabric. You do not want to have the design upside down or not centered correctly.
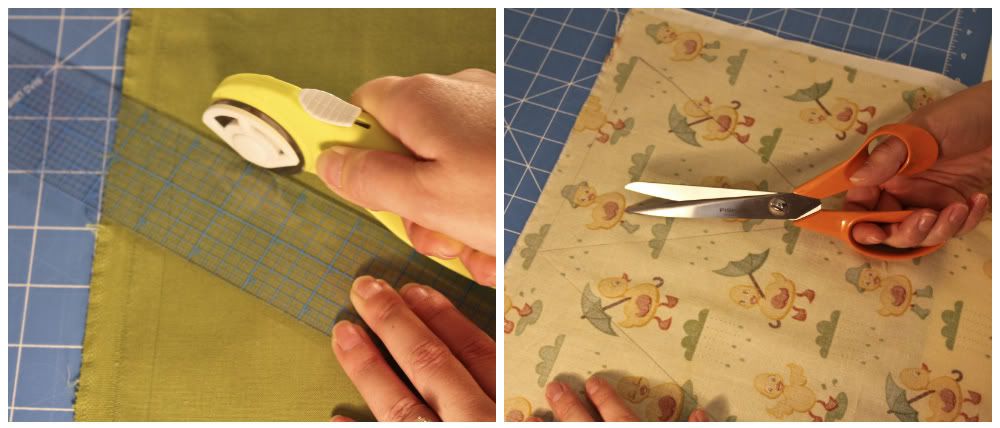
Step 4) Cut out all the triangle pieces using your rotary cutter and mat, or scissors. Once all the pieces are cut, arrange them in the order you want to hang them.
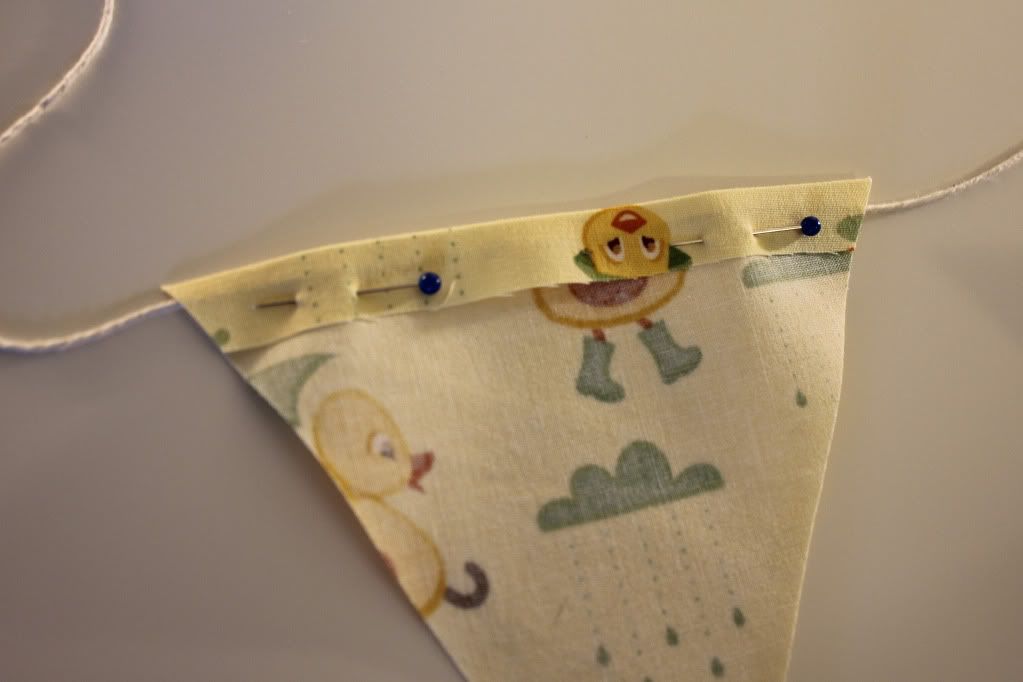
Step 5) Head back to the ironing board and fold 1/2 in down of the top of every triangle and steam press. Cut the excess corners off the flags.
Step 6) Place the cotton twine underneath the folded edges on the backside of fabric. Pin in place.
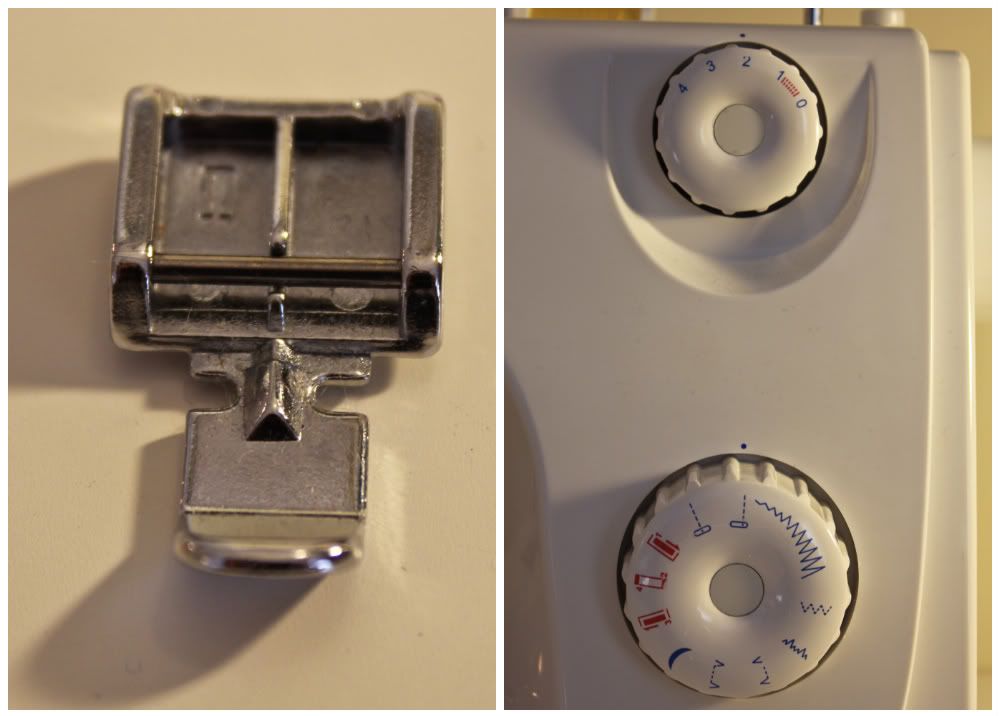
Step 7) Thread machine and attach the zipper foot. Make sure the settings are correct on your machine and you are ready to sew!
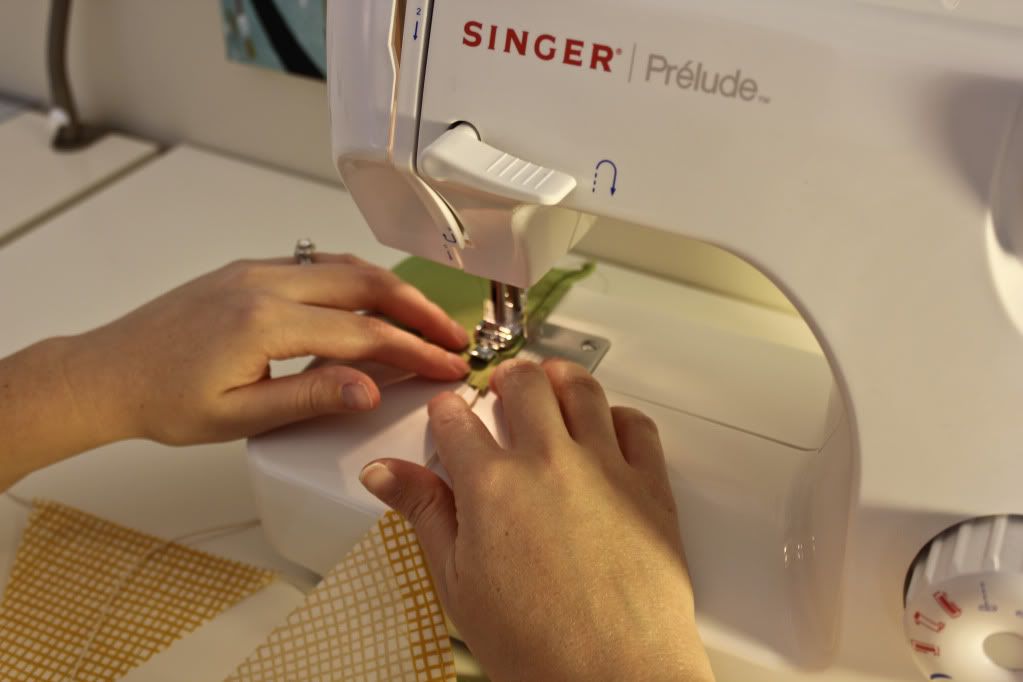
Step 8) Sew each flag close to the twine, but do not stitch over the twine. *The zipper foot will help with this.
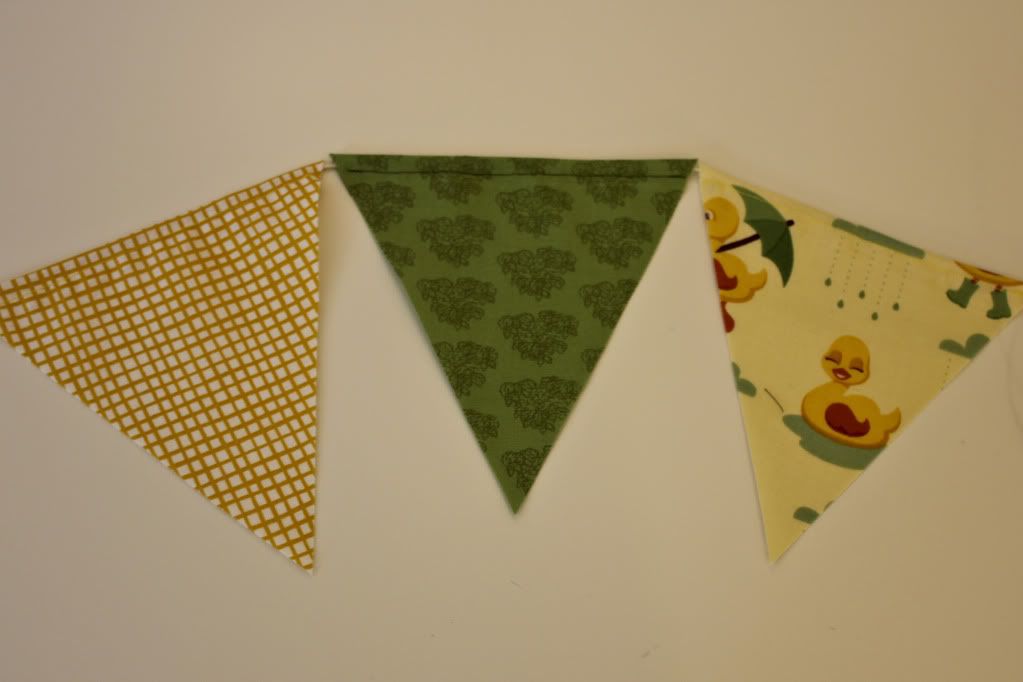
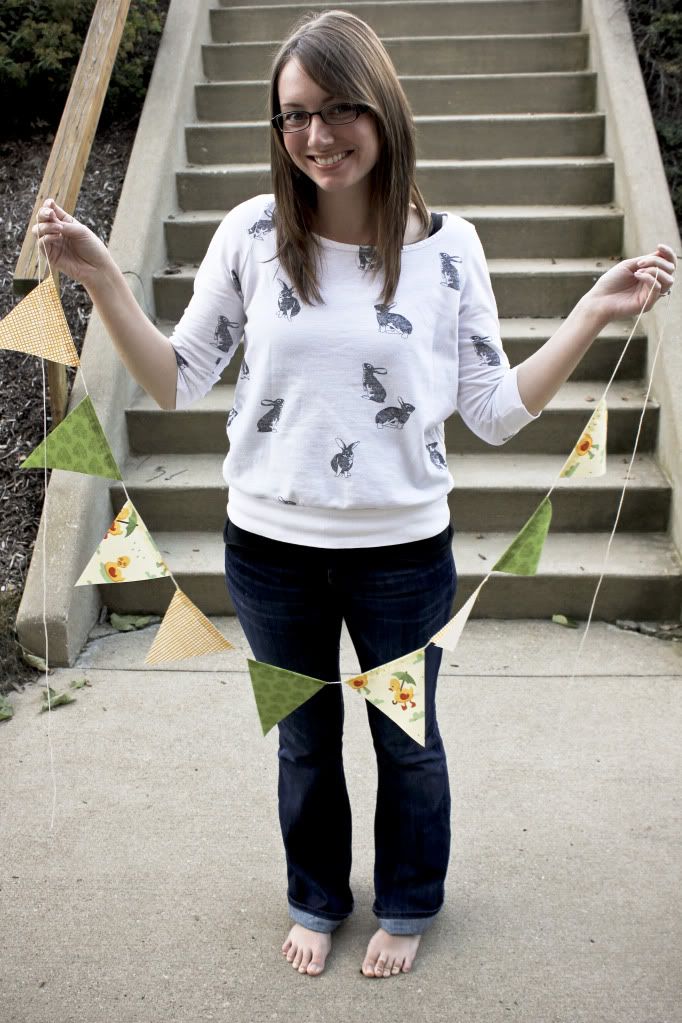
Step 9) This sewing method is my favorite for the banners because it allows you to move the banners along the twine. Slide the flags however close or far apart you want them to be!
Step 10) Take pictures of your awesome new banner!
Thank you for reading my tutorial! Happy sewing!



I seriously can't get enough of the banners. i think I want one in each room! Yours came out super cute. :)
ReplyDeleteSuch a great tutorial! Thank you for sharing this.
ReplyDelete