Wednesday, November 30, 2011

What I Love Wednesday {No. 44}

i am loving Christmas music!!
what better way to get in the holiday mood with some fun tunes?
always puts a smile on my face.
and the kids love it!

pandora radio is great for a little variety,
and back in 2007 we made a family Christmas CD...
the girls did the artwork
download the playlist in one click here on iTunes :) 


what are some of your favorite Christmas songs??
xoxo,
lollipops

Tuesday, November 29, 2011

Pretty Clever {No. 8} with guest tutorial from Knitty Bitties

Hello and Happy Day! I'm Andrea from Knitty Bitties {shop / blog} and I'm excited to share a little tutorial with you today for Pretty Clever Tuesday's here at Lollipops.
For months I've had a large embroidery hoop hanging empty on the wall next to my cutting/sewing table. I knew what I wanted to do with it, it was just finding the time {or making the time} to create it. This pushed me to do that {hurray!} and I documented it so you could make one too! Hoop Art Inspiration Board
Supplies needed:: Embroidery Hoop (mine is 18" and purchased at JoAnns for 50% off) Fabric #1 (large enough to cover the hoop plus a few additional inches on each side) Fabric #2 (large enough to fold in half and create a pocket for the bottom third of the hoop) Batting (large enough to cover the hoop plus a few additional inches on each side) Foam Core (2 Sheets)
Start by tracing your inner hoop circle onto each sheet of foam core. Cut foam core using a utility knife. **Be Careful!!**
Press two cut circles of foam core into the inner hoop so that the foam core lays flat with the front of the hoop.
Remove the outer hoop and layer your materials as follows on top of the inner hoop:: Batting Fabric #1 Fabric #2 (Folded in half to create a pocket. I added two lines of stitching to mine, but this is optional)
Make sure everything is lined up and carefully place the outer hoop on top of the layer and tighten it into place, carefully stretching material (especially the pocket) as needed to lay nice and smooth.
Flip hoop over and trim the excess batting as close to the hoop as you can. Then trim Fabric #1/#2, leaving a 1" border.
Using your hot glue gun, work in 8-10" sections, add a line of glue to the inside of the inside hoop and fold over fabric. At the pocket, you will need to work in layers (glue Fabric #1 first, then the first piece of Fabric #2 and then the second piece of Fabric #2).
Turn over and whaaa-laa ... Admire your work!!

........

oh my Andrea! love!
what do you think friends?

ok go make your hoop art inspiration board and
link up your DIY :)

xoxo,

lollipops

Monday, November 28, 2011

November Group Sponsor Love

hi friends please take a moment to get to know my lovely sponsors...

Hello. I am Rebekah from England and am the Author of Bird and Feather.
I have only recently gotten back into blogging and am really enjoying it again.
I am about to start my third year at University, doing a Bachelors Degree in Photography;
so being a student takes up most of my time.
I have however recently started getting myself involved with jewellery making, and hope to soon set up a shop to sell some of my favourite products.
You can read about it here.

My name is Citlalli, and I am the over-caffeinated gal from Sew Beastly. Some of my favorite things to do are drinking coffee, eating, cooking, and sewing the day and night away as I rock out to my music. The last one is how Sew Beastly started...me, my sewing machine, my music, and my handmade dream. My shoppe is where you can find a fun mix of my handmade accessories, and I also blog over here. Stop by, stay awhile, and let's connect!

I began {songs kate sang} blog as a way to stay in touch with my sweet family back in Texas. Since starting this online journal, I have read stories that filled my heart with complete love, I have seen pictures that moved me to tears and I have stood beside you on causes that caused my entire being to stir. Please come visit my blog and shop.

I'm Meagan from Fairly Fabulous. Mommy to 3 and 5 year old sassy girls and less than trophy wife to my hubby, Breadwinner. 18 months ago we moved our family 90 miles to the Southern California desert for a job opportunity with Breadwinner's company. God found us the home our our dreams with more than enough space to make so many of the crafts, projects, and ideas floating around in my head become a reality! From creating our 8ft by 4 ft chalkboard to refinishing every piece of furniture in the house (and then some!) to attempting fashion 'masterpieces' and making every effort to love on my girls, honor my husband, juggle the laundry, house keeping, and chores- well- it's a busy life! A year ago I decided to add to the madness and sell some of my wares on etsy! It's a wild ride, but I trust God won't give us more than we can handle...right? ha

I am the 28-year old momma
to my darling six-year old son, Andrew.
I am engaged to be married to the LOVE of my life, John.
I am in super wedding planning mode
and am excited to be a bride to the most wonderful man I have ever met. :)
I love the art of the handmade
and like to incorporate it into my life whenever possible.
Stop by my blog and shop :)

Wednesday, November 23, 2011

What I Love Wednesday {No. 43}

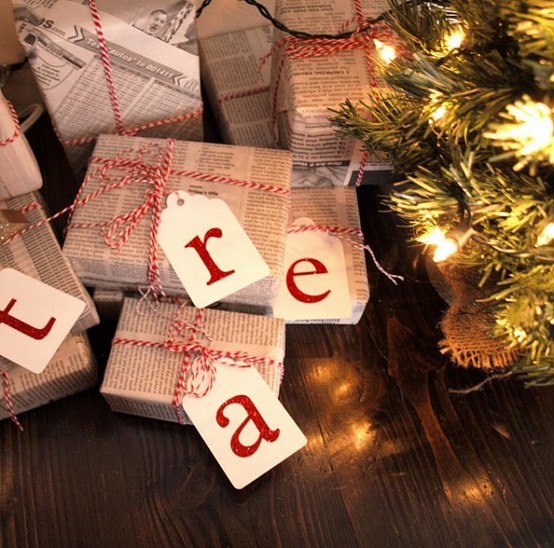
i am loving sweet, sweet packaging!


yay! almost ready for the holidaysssss!!
what are you loving??
xoxo,
lollipops

Tuesday, November 22, 2011

Pretty Clever {No. 7} with guest tutorial from Rouge and Whimsey

Hi I'm Erika of Rouge & Whimsy the shop and blog

I am so excited to share my project today! This little DIY accessory was very much inspired by the lovely Krystina who was wearing cute legwarmers when I met her at Blog Sugar. :)

It's a simple & cheap project and you don't need much skill or items to put it together!

 You need: a sweater + needle & thread + scissors + details like ribbon, buttons, embroidery thread


I got myself over to Value Village to pick up a $3.99 sweater. When you choose a sweater, pick one with sleeves that feel like they will stretch. I picked out a chunky knit but I was also tempted to grab some patterned sweaters as well.


 Measure your legs to determine how long of leg warmers you want. Add an inch or two to fold over the top. (I cut mine at 13 inches for a shorter leg warmer.)


Measure a one-inch cuff at the end you cut. This will be at the top of your leg. If you do not want the cuff to show, turn the sleeve inside out and then fold it over.


Using a sewing machine, zig-zag stitch along the raw edge. (a zig-zag stitch will prevent fraying.)


If you have a cable-knit sweater, do your best to match the cable stripes up. 
 

Now it's time for the fun part. You can add little details to your leg warmers like embroidery thread, ribbon and buttons. I chose a coral embroidery thread and buttons.


All done!


I think you could also do this to make arm warmers too. That may be my next project....

Thanks Krystina for having me!

..............

wow Erika i love it!
ok friends link up your tutorials and then 
go make some leg warmers for your boots! yay!!
xoxo

Monday, November 21, 2011

Winter Newsletter


my winter newsletter comes out soon! 
please sign up
{below my buttons above google friend connect}

and you'll get a 15% off discount code for my shop! :)

have a wonderful week!
xoxo,

Friday, November 18, 2011

Giveaway Winner!


the winner of the creating keepsakes special issue is:
lucky reader number 3 Donna who is new to scrapbooking and working on last year's Halloween.

thank you all for entering.
 drawn from random.org 
xoxo,

InstaFriday

most of the week was spent prepping for The Queen Bee Market today...
some hard core crafting for a lovely framed piece :)

the color of my new sign! love, love this color!

Mr. Boy patiently "working" with mom.

i cut over 2000 circles (here's a small stack). 
see why at my booth this weekend!

pricing.

a sneak peek of new framed prints!

see you at The Queen Bee!!!
xoxo,